Anyone who has tried to make an AI character deliver a specific line knows the routine: write a long prompt, generate, watch the character smile at the wrong moment, adjust two words, and generate again. A live face swap takes a different route, letting you perform the scene yourself on a webcam while the AI puts a chosen face, outfit, or art style on top of your real expressions as they happen.
Text-to-video models are excellent at establishing shots, scenery, and atmosphere. They struggle with the small things that make a talking character feel directed: a raised eyebrow on a particular word, a half-second pause before a punchline, a glance off-camera and back. Those beats are timing, and timing is hard to describe in a sentence.
This guide explains which shots belong to prompts and which belong to a camera, then walks through a practical workflow using LiveSwapFace, a browser tool that runs Face Swap, Try-On, and Restyle on a live camera feed.
Where Text Prompts Lose Control
A prompt describes an outcome. It cannot describe a performance second by second. Creators run into the same walls again and again:
- Lip sync to a fixed script. Matching mouth shapes to a recorded voiceover usually takes many generations, and the result still drifts on longer lines.
- Micro-expressions on cue. “She looks skeptical, then amused” might produce either expression, both at once, or neither at the right moment.
- Eye direction. Getting a character to look at the lens, then at an object, then back at the lens is close to impossible to specify reliably.
- Continuity across shots. Keeping the same face and the same jacket across six separate clips means fighting the model’s tendency to reinvent details.
- Iteration cost in time. Every small correction means a new generation and a new wait.
None of this makes prompt-based video less useful. It means talking-character shots need a different input.
Prompts vs. Camera: A Simple Division of Labor
A practical split for most short videos looks like this:
- Use prompts for: wide establishing shots, environments, B-roll, product close-ups without people, and stylized transitions.
- Use a camera for: dialogue, reactions, direct-to-lens explanations, anything that has to land on a specific word, and any scene where the same character appears repeatedly.
With a camera as the input, your own face becomes the controller. You already know how to raise an eyebrow on cue. The AI’s job shrinks to one thing it can do well in real time: mapping your expressions onto a different face, a different outfit, or a different visual style.
How LiveSwapFace Handles the Camera Side
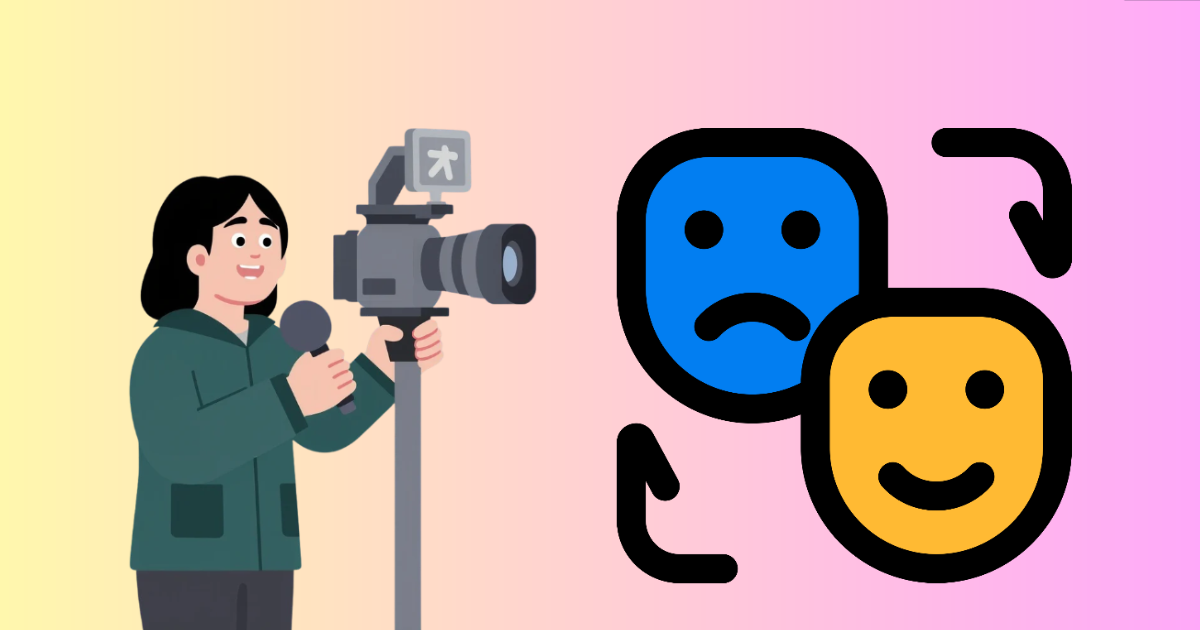
LiveSwapFace runs in a desktop or mobile browser, with the AI processing done in the cloud, so there is nothing to install and no local graphics card involved. It offers three modes that can stand in for three layers of character design:
- Face Swap replaces your face with one from a single reference photo, following your expressions, blinks, gaze, and head movement. No training set is needed.
- Try-On dresses you in a chosen outfit in the live video. You can pick from a preset gallery that includes casual wear, suits, athleisure, and costume styles such as hanfu, qipao, and kimono, or upload your own garment photo (JPEG, PNG, or WebP up to 5 MB, ideally a clear front view on a plain background).
- Restyle turns the whole camera picture into an illustrated, comic, or painted look while keeping your movement underneath.
Together these cover the face, the costume, and the art direction, which are exactly the elements that prompts tend to change between clips.
Step 1: Define the Character Once
Before recording, collect a small character kit in one folder:
- One clear, front-facing reference photo for the face, taken in even light with no heavy shadows across the eyes.
- One outfit image or a chosen preset look for Try-On.
- A note on which Restyle look, if any, the series will use.
Because the character is defined by files rather than by a paragraph of prompt text, it stays identical every time you load it. That alone solves most continuity problems.
Step 2: Set Up a Repeatable Corner
Sit facing a window or put a soft lamp behind your screen so your face is evenly lit. Avoid a bright window behind you. Frame from the chest up with your whole head inside the picture, or step back to include more of your body if the outfit matters to the scene.
Mark the spot where your chair and laptop sit. If you record a series over several days, the same framing keeps every episode consistent.
Step 3: Perform the Scene Live
Open LiveSwapFace, load the reference face, allow camera access, check your framing in the preview, and press Start. Within a few seconds the AI video appears, and the live face swap follows you as you speak.
This is where the difference from prompting becomes obvious. You can try a line three ways in thirty seconds: deadpan, warm, and exaggerated. You can see on screen whether a look toward the side reads as suspicious or simply distracted, and adjust before the real take. Switch on Try-On for the outfit, and the clothing moves with your shoulders as you gesture.
Capture the browser window with screen-recording software such as OBS Studio or your computer’s built-in recorder, and record your voice on the same take so the lip sync is native.
Step 4: Add Restyle Shots and Prompted B-Roll
For openers, flashbacks, or a recurring segment, switch to Restyle and record a few seconds in an illustrated or comic look. Because it is still your performance underneath, the stylized shot matches the timing of the rest of the scene.
Then generate the shots that do not need a performer, such as the city skyline, the product on a table, or the abstract transition, with your preferred text-to-video tool. Cut them around your camera-driven dialogue.
Step 5: Edit Like a Normal Talking-Head Video
Drop the recordings into your editor and treat them as standard footage. Trim restarts, add captions, and place the generated B-roll between lines. Because the character’s face and outfit came from fixed files, every dialogue shot matches without color-grading tricks or reshoots.
A Quick Comparison Checklist
Before deciding how to produce a shot, ask three questions:
- Does it need to hit a specific word or beat? Use the camera.
- Will the same character appear in more than one clip? Use the camera with a saved reference kit.
- Is it scenery, an object, or an effect with no performer? Use a prompt.
Most short-form AI videos end up as a mix, with prompts building the world and a live camera supplying the performance. That combination produces a directed character in an afternoon instead of a stack of near-misses from the generation queue.

Sandeep Kumar is the Founder & CEO of Aitude, a leading AI tools, research, and tutorial platform dedicated to empowering learners, researchers, and innovators. Under his leadership, Aitude has become a go-to resource for those seeking the latest in artificial intelligence, machine learning, computer vision, and development strategies.