Learn by example is the best way to learn! Let’s create a simple job vacancy chatbot step-by-step and cover all basics of Dialogflow in an interesting way.
So we’re going to create a virtual agent to take job interviews. So our bot will get the basic information from applicants.
Entities
The first thing is to decide which job positions are available. We’ll use the “Entities” feature for this.

- Go to “Entities” and click on “Create Entity”
- Give it a name “job-positions”
- Let’s enter each job position are available so first is “programmer” and it’s synonyms are “developer” &”coder”.
- Next is “UI/UX Designer” and it’s synonyms are “ui designer”, “ux designer” and so on.
- And click on “Save”.
Intents
A user can ask about the job vacancy to the bot and then provide necessary informations so we’ll create a series of intents for this purpose.
Job Intent
This intent will start the job conversation.

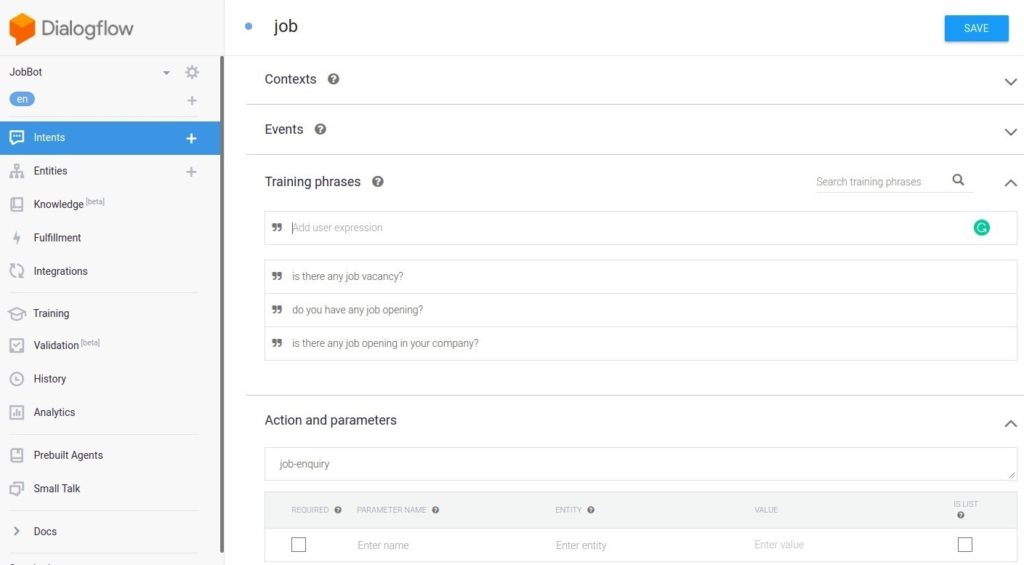
- Go to “Intents” and click on “Create Intent”.
- Give it the name “job”.
- Now add training phrases according to how a job seeker can ask about a job opening here. e.g “Do you have any job opening” or “is there any job vacancy in your company”
- Next we need to define an action and it can be “job-enquiry”
- Now go to Response section and click on “Add Response” and choose “Text Response”. It can be like “yes, we have a job opening for programmer and UI designer. would you like to apply?”
- And click on “Save”
Job Apply Intent
This intent will collect the job position they’re interested in.

- Go to “Intents” and click on “Create Intent”.
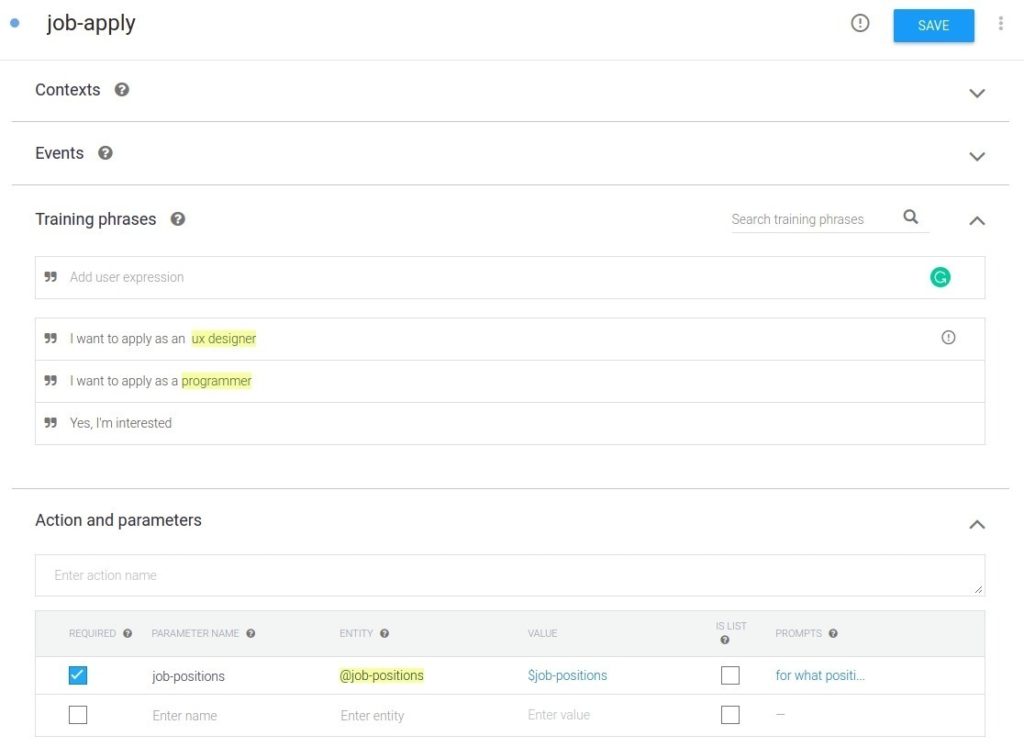
- Give it the name “job-apply”.
- Now add training phrases about what user might say. e.g “Yes, I’m interested.” or “I want to apply as a programmer”
- Next we need to make “job-positions” as a required and set promoted message to get missing job position. it can be “for what position do you want to apply?”
- Now go to Response section and click on “Add Response” and choose “Text Response”. It can be like “Good! We need some more information for further information. ok?”
- And click on “Save”
Job Application Intent
This intent will collect the user’s resume information for further process.

- Go to “Intents” and click on “Create Intent”.
- Give it the name “job-applicant-details”.
- Now add training phrases about uses confirmation to process ahead. e.g “Yes” or “Ok”
- Next, we will ask the user’s information as parameters. So add “user-name”, “user-phone”,”user-current-job” and “user-email” and make them required.
- In the end, Set a confirmation message into the Response section. Click on “Add Response” and choose “Text Response”. It can be like “Thank you $user-name for your job application here. We’ll process it and will get back to you via email.”
- And click on “Save”
Connecting Intents
Now it’s time to connect each intents to build a complete conversation chain. And we’ll use “Contexts” for this purpose. We can pass parameters from one intent to another intent using Contexts. e.g we’ll need to pass job-position parameter to job-applicant-details.
There are two types of contexts values – Input & Output.
- Input Contexts – This is used to receive parameters from an intent.
- Output Contexts – This is used to send parameters to an intent.
So let’s setup these contexts in this job chatbot.
- Open “job” Intent and enter ‘job’ in output context.
- Open “job-apply” intent and enter ‘job’ in input context and ‘job-position’ in the output context.
- Next, Open “job-applicant-details” and enter ‘job-position’ in the input context and leave output context blank to end the conversation chain.
Now we’re done with this sample job chatbot. Let’s try it out.
Test Job Chatbot
Now go to Right section of the dialog flow and type your query in to “Try it now” input or you can use voice command as well and you’ll get the expected response from the chatbot.


